Desserts & treats
AIP Marshmallows
Desserts & treats · serves 18 · over-2-hours
Core AIP · Elimination phase compliant
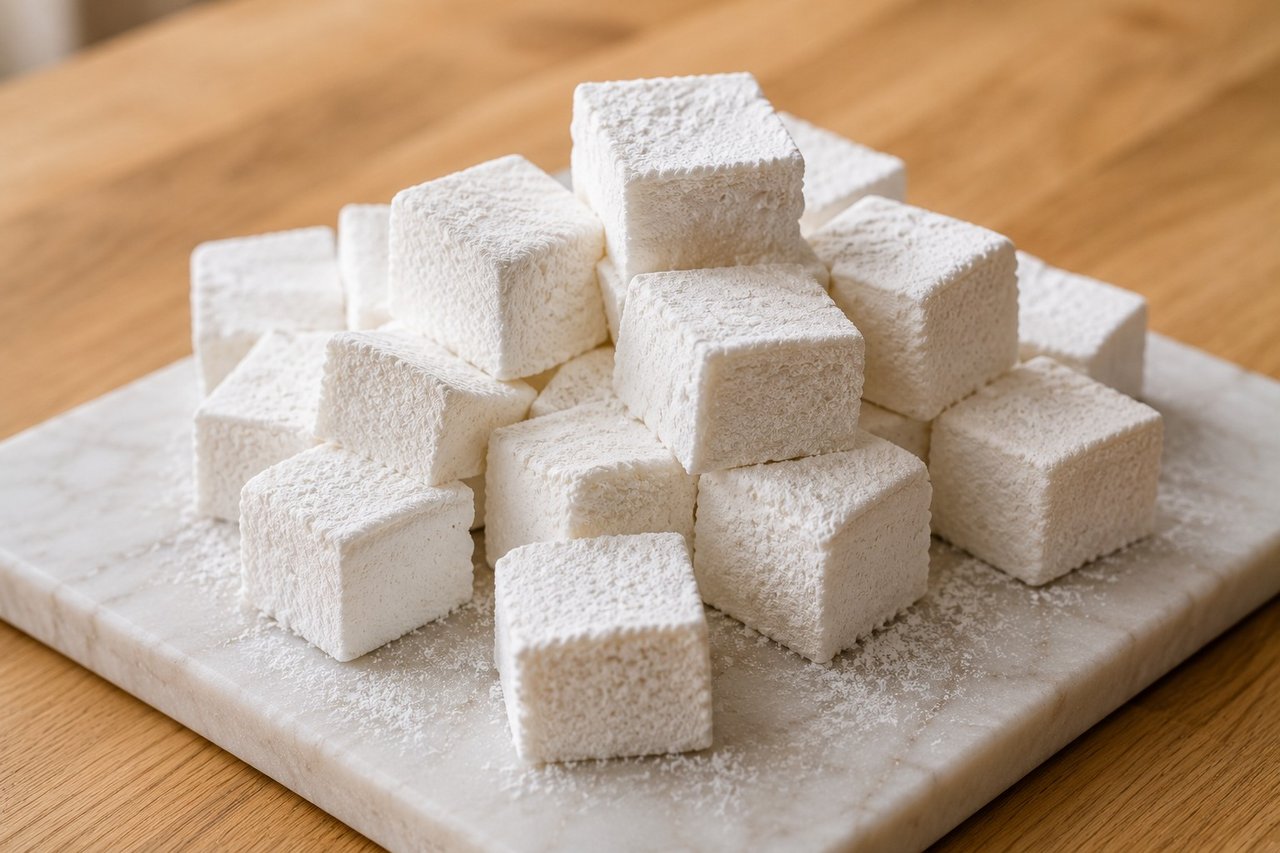
Getting a syrup to exactly 240 degrees on a candy thermometer, no higher and no lower, is the one part of this recipe that actually asks for attention. Go past soft-ball stage and the marshmallows turn stiff and grainy instead of the airy, cloud-like texture most people remember from childhood. The stand mixer needs to run for a full 3.5 to 5 minutes once the hot syrup goes in, and the payoff is watching a bowl of bloomed gelatin and boiling sugar turn into something that looks exactly right, built this time from ingredients that belong on the protocol.
Gelatin does more than bind these together. It is the entire structure of the marshmallow, and glycine and proline, the two amino acids that gelatin is especially rich in, show up often in research on the gut lining and connective tissue, where they appear to play a supporting role in keeping that single-cell barrier intact. That is a meaningful thing for a dessert to be doing, even one this simple and this sweet.
Marshmallows are also a genuinely good test case for anyone who assumes AIP food means settling for less. Share a batch with someone skeptical of that, and let the marshmallow argue the point for you.
Ingredients
- 3 tablespoons gelatin
- 1/2 cup maple syrup
- 1 1/4 cups water, divided (1 cup for blooming the gelatin, 1/4 cup for the syrup)
- 1/4 teaspoon sea salt
- 1 teaspoon vanilla powder (see note below)
- Tapioca starch or arrowroot starch, for dusting
Vanilla note: The source calls for pure vanilla extract, which is alcohol-based and excluded on strict AIP. Use vanilla powder in the same quantity; add it to the mixer after the hot syrup is incorporated.
Equipment note: A stand mixer fitted with the whisk attachment is strongly recommended. A hand mixer can work but will take longer to reach soft peaks.
Method
- Lightly grease an 8x8 inch baking pan and dust generously with tapioca or arrowroot starch, tapping out any excess. Line with parchment if preferred; dust the parchment too.
- Pour 1 cup of cold water into the bowl of a stand mixer. Sprinkle the gelatin evenly over the surface. Do not stir. Let it bloom (absorb the water and soften) for 5 minutes. The gelatin will look swollen and slightly translucent.
- While the gelatin blooms, combine the maple syrup, the remaining 1/4 cup water, and the sea salt in a small saucepan. Bring to a boil over medium-high heat, stirring once at the start to dissolve the salt. Then stop stirring and let the syrup boil until it reaches about 240 F on a candy thermometer (soft ball stage), approximately 5 to 7 minutes. Watch it carefully; the syrup can boil over.
- Fit the stand mixer with the whisk attachment. Turn it to low speed. With the mixer running, slowly stream the hot syrup into the bloomed gelatin in a thin, steady pour down the side of the bowl. Pouring slowly prevents the gelatin from seizing or the syrup from splashing.
- Once all the syrup is in, add the vanilla powder. Increase the mixer speed to high. Beat for 3.5 to 5 minutes until the mixture has tripled in volume, looks bright white, and holds soft peaks when the whisk is lifted. The bowl will feel warm and the mixture will be glossy.
- Working quickly, pour and scrape the marshmallow mixture into the prepared pan. Use a lightly dampened spatula or wet hands to spread it into an even layer; it will be sticky. The mixture begins to set fast so do not pause long.
- Dust the top generously with additional tapioca or arrowroot starch.
- Leave at room temperature, uncovered, for at least 6 hours or overnight until fully set. Do not refrigerate during setting; condensation will make the surface sticky.
- Once set, turn the slab out onto a cutting board dusted with more starch. Use a sharp knife or kitchen scissors dusted with starch to cut into squares. Toss the cut pieces in a small bowl of starch to coat all sides, then shake off the excess.
- Store in an airtight container at room temperature for up to 1 week, or refrigerate for up to 2 weeks.
*Adapted from Heal Me Delicious*
Nutrition
Estimated per serving (serves 18), calculated from the ingredients. Actual values vary with brands, sizes, and how much sauce or dressing you use.
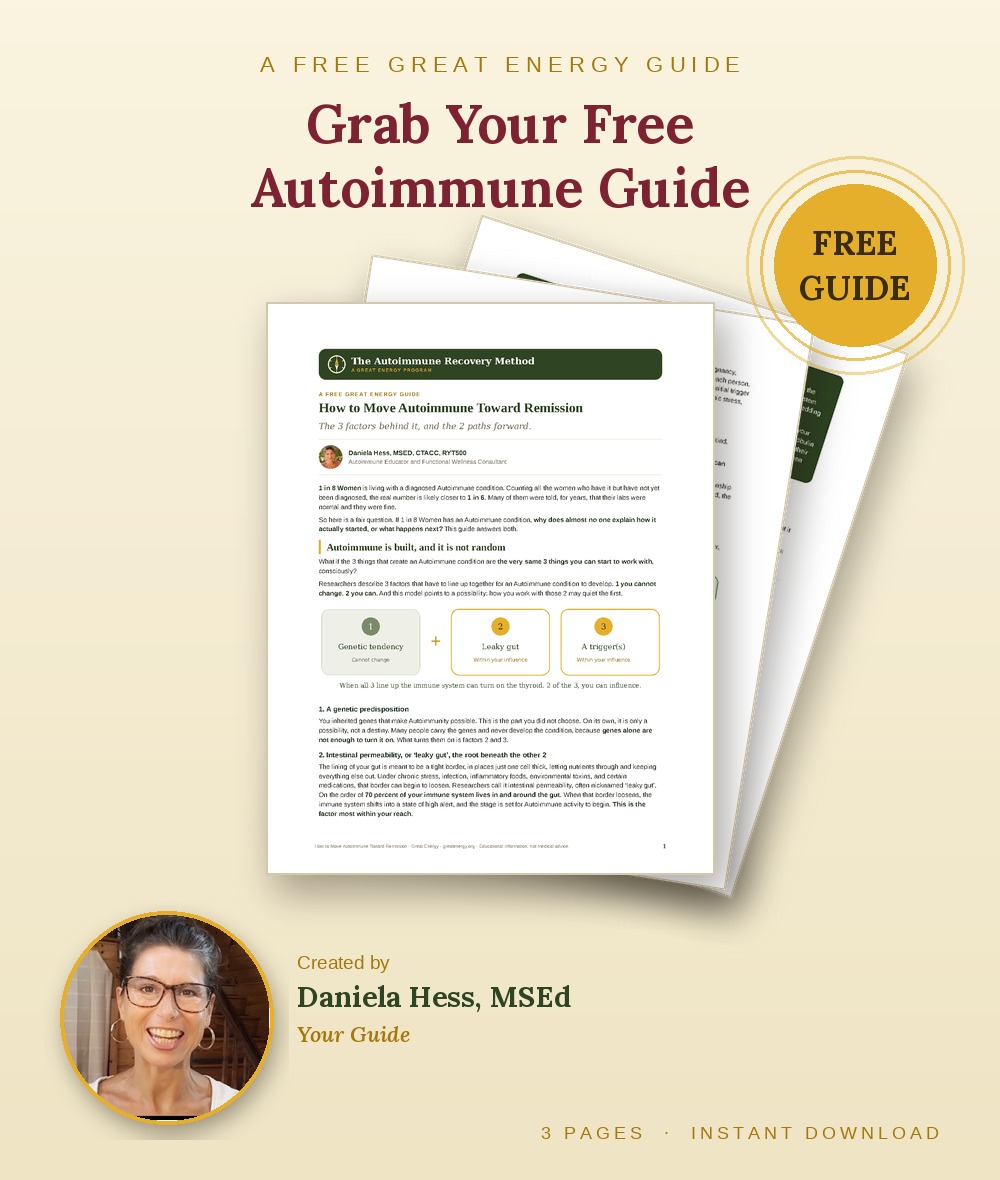
How to Move Autoimmune Toward Remission
The 3 factors behind an Autoimmune condition and the 2 paths forward, free, straight to your inbox.
No spam. Unsubscribe anytime.
Your guide is on its way. You can also open it now (PDF).

Further reading
Daniela Hess, MSEd, is a co-founder of Great Energy and an Autoimmune Educator and Functional Wellness Consultant who lives and thrives with Hashimoto’s. She is not a licensed medical provider.
More recipes with Vanilla, Tapioca, or Gelatin
AIP Carob Chip CookiesAIP Gingerbread CookiesAIP GingersnapsAIP Pumpkin PieA coconut-based AIP mozzarella set with gelatin and tapioca starch, sliceable and shreddable, for use on pizza, pasta, and caprese-style dishesAIP Banana BreadAIP Cassava Flour PancakesAIP CrepesEvery ingredient in this recipe is on the Core Autoimmune Protocol food list.
Download the Core Food List (PDF) Explore the food list