Foundations & staples
Instant Pot Bone Broth
Foundations & staples · serves 8 · 1-2-hours
Core AIP · Elimination phase compliant
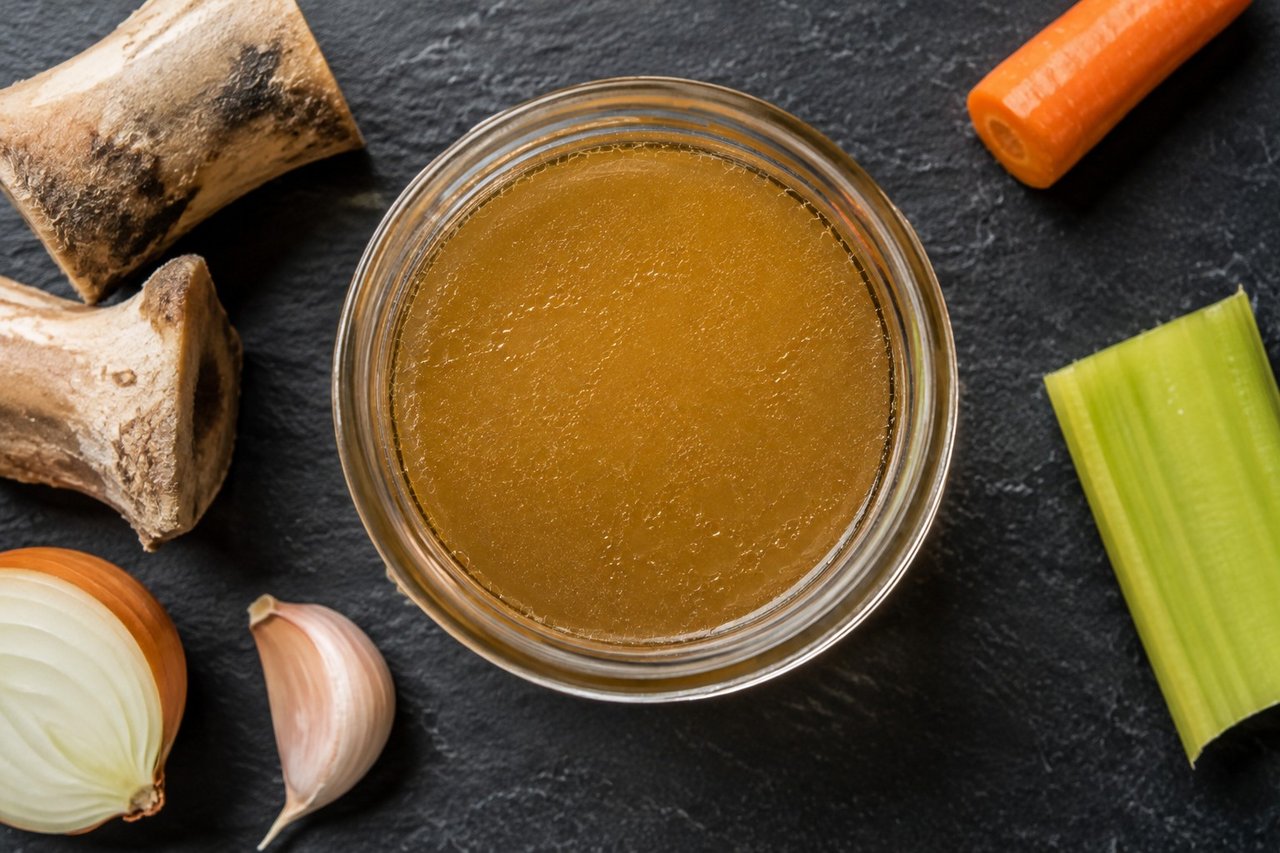
The classic version of this recipe asks for a full day or 2 of a pot barely simmering on the stove, which is not realistic on the weeks when standing over a stove for that long is more than you have to give. The Instant Pot changes the math. Bones go in, the pot comes to pressure, and broth is ready in about 2 hours, the kind that used to take a whole weekend. Start it Sunday afternoon and it is done before dinner.
The long pressure cook pulls gelatin out of the cartilage and connective tissue in the bones, which is why a good batch sets firm in the refrigerator. That gelatin breaks down into amino acids, and glycine, one of them, has been linked by researchers to gut lining integrity. That is worth something on a protocol built around giving the gut room to settle.
Save bones as you go, from a roast, a rotisserie chicken, whatever is left after a meal, and keep them in a bag in the freezer until you have enough for a batch. It turns what most people throw away into something that feeds you all week. Skim the fat or stir it back in, whichever you actually prefer, and let a jar of this become one of the steady, unglamorous anchors of the week.
Ingredients
- 3 lbs bones (a variety works best - knuckles, marrow bones, feet, necks, or backs; frozen bones are fine to use without thawing)
- Filtered cold water, enough to cover the bones to the fill line of your Instant Pot (approximately 8 to 10 cups for a 6-quart model)
- 1 tbsp apple cider vinegar
- 1 tsp sea salt
- 1/2 medium onion, roughly chopped
- 1 small clove garlic, smashed
- 3-inch piece of celery
- 3-inch piece of carrot
Method
Place the bones directly in the Instant Pot insert. No need to thaw frozen bones first. Add the apple cider vinegar, then fill with cold filtered water to just below the maximum fill line. Add the sea salt, onion, garlic, celery, and carrot.
Secure the lid and set the steam release valve to sealing. Select the Manual or Pressure Cook function on High Pressure and set the timer for 120 minutes. The pot will take 15 to 20 minutes to come to pressure before the cooking time actually begins.
When the timer finishes, allow the pressure to release naturally. Do not rush this step with a quick release - a slow natural release keeps the broth clearer and calmer. Wait at least 30 minutes before carefully switching the valve to venting to release any remaining pressure.
Open the lid and remove the large bones with tongs. Strain the broth through a fine-mesh strainer or a colander lined with cheesecloth into a large heatproof bowl or pot. Discard the spent solids.
Let the broth cool at room temperature for 30 minutes, then transfer it to jars or containers. Refrigerate uncovered until cold, then cover and leave overnight. By morning, a solid white or cream-colored fat cap will have formed on the surface. Skim it off with a spoon for a leaner broth, or stir it back in for richness - both are nourishing choices.
A good broth gels firm when cold. That is a sign of high gelatin content, not a flaw. It will reliquify as soon as it is warmed.
Broth keeps in the refrigerator for up to 5 days and in the freezer for up to 3 months. Freeze in portions you will actually use - 1-cup and 2-cup amounts are practical.
Slow cooker variation
The slow cooker produces a similarly rich broth with a gentler cook. Many people prefer starting a batch before bed and waking to a finished broth.
Use the same ingredients and quantities. Place the bones in the slow cooker, pour in the apple cider vinegar, and fill with cold water to cover the bones by an inch or two. Add the salt and aromatics. Cook on low for 24 hours. Strain, cool, and refrigerate as described above.
*Adapted from Phoenix Helix*
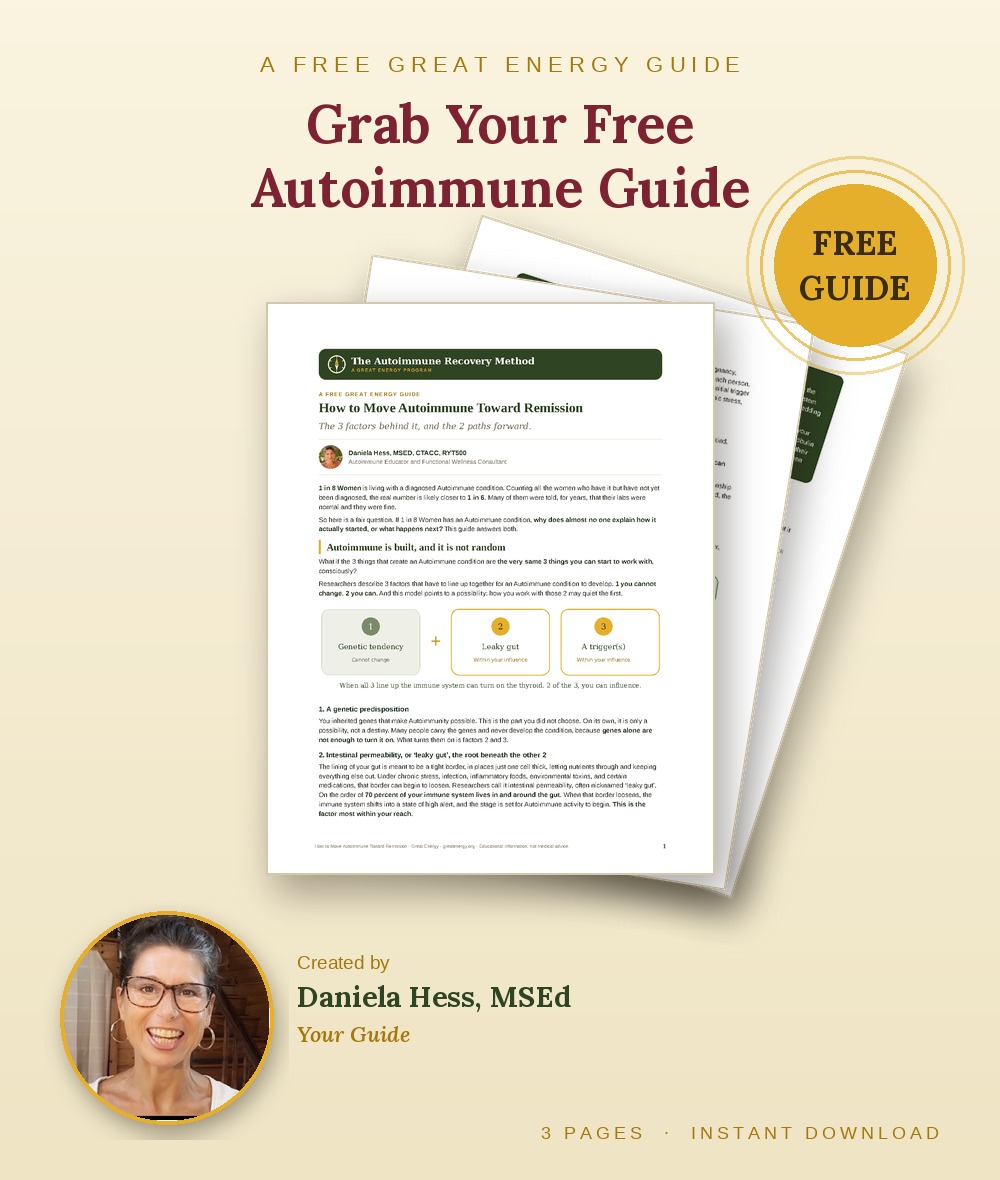
How to Move Autoimmune Toward Remission
The 3 factors behind an Autoimmune condition and the 2 paths forward, free, straight to your inbox.
No spam. Unsubscribe anytime.
Your guide is on its way. You can also open it now (PDF).

Further reading
Daniela Hess, MSEd, is a co-founder of Great Energy and an Autoimmune Educator and Functional Wellness Consultant who lives and thrives with Hashimoto’s. She is not a licensed medical provider.
More recipes with Bones, Onion, or Garlic
5-Veggie Beef Stir-FryA Japanese beef bowl rebuilt over cauliflower riceA Make-Ahead Meal for the Days You Cannot CookA Provencal Stew That Skips the Nightshades, Not the SoulA blended chicken and asparagus soup on a sweet potato base, finished with arugula, asparagus tips, and lemonA club sandwich, turned into a bright bowl of greens you can build in 10 minutesA gentle, nightshade-free vindaloo you stir together and walk away fromA hearty Irish lamb stew braised low with turnips, riced celeriac, and thymeFrom the glossary
Words in this recipe you can look up. Tap or click a term to learn what it means.
GelatinGlycineInstant PotSlow cookerEvery ingredient in this recipe is on the Core Autoimmune Protocol food list.
Download the Core Food List (PDF) Explore the food list